

Hosting a react app can be quite tricky sometimes. Choosing the right hosting provider, managing all the files, etc. can be quite tricky for the first time. I'll be guiding you through the entire process of deploying a React app on one of the best hosting providers, Hostinger.
Things You Need Before Deploying Your React App On Hostinger
A domain
A hosting plan
It can be really tricky and expensive to purchase your domain and hosting plan. Hostinger has made it really easy for this. We can purchase the premium web hosting plan and get a domain completely free for the first year.
Click here to get an additional 20% discount on all your plans.
Now let's get right into it. 🚀
Step 1: Create Your React App
First of all, you need to have a React app ready to deploy. If you haven't created one yet, you can use the following command to set up a new React project. Open your terminal in your desired directory and run the following command:
npx create-react-app example-react-app
Replace example-react-app with the name of your app. Once the installation is complete, go to your project directory by using the following command:
cd example-react-app
Now, run your react app using the following command:
npm start
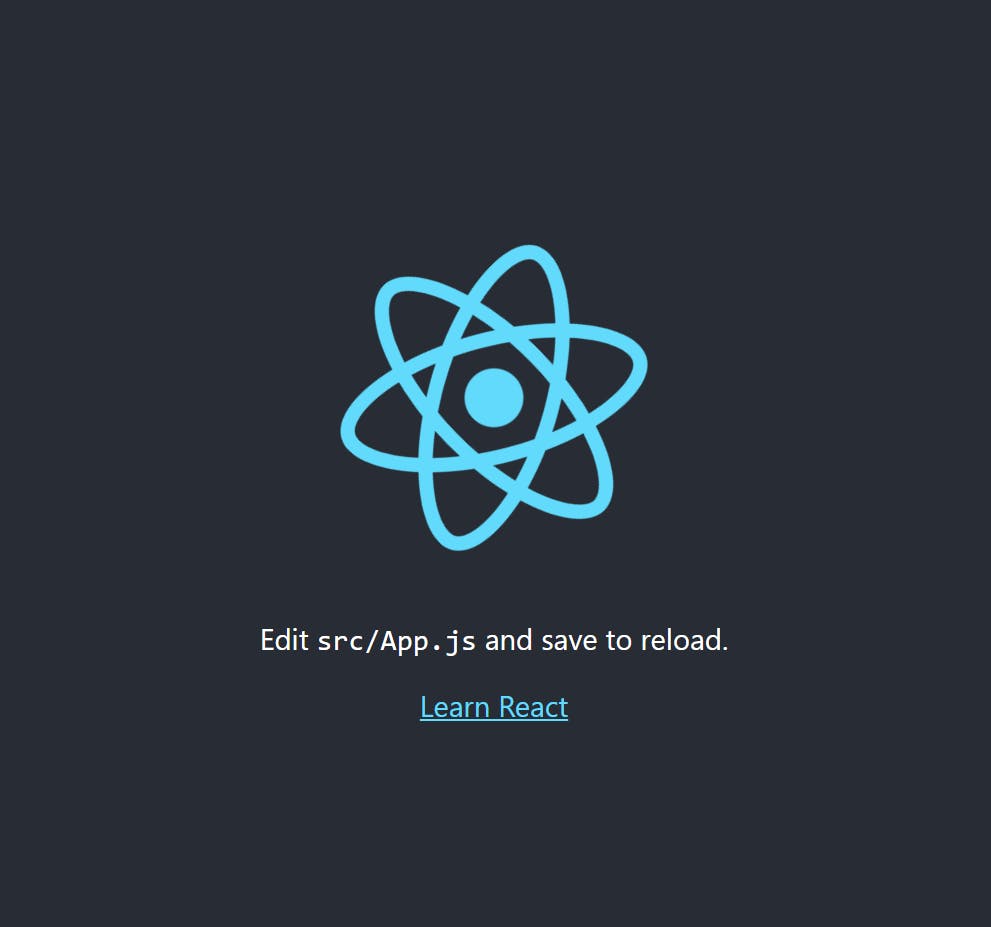
Go to localhost:3000 in your browser and you should see your app running.
Step 2: Edit the package.json file
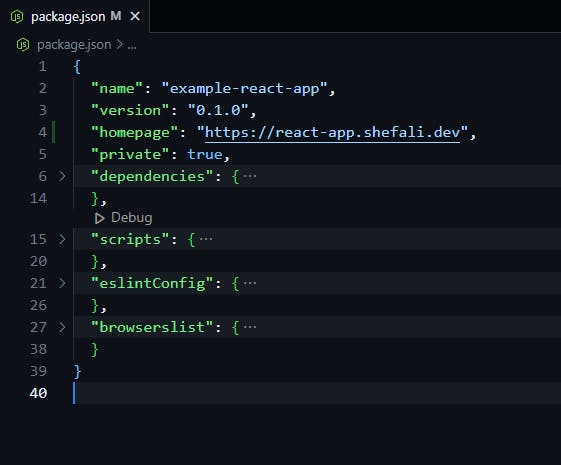
Next, open the package.json file from the root directory of your React app and add the following code inside the package.json file.
"homepage": "https://react-app.shefali.dev"
Replace https://react-app.shefali.dev with the domain you choose for your Hostinger website. This tells React where to find your app when it's deployed. Now your package.json file should look like this.
Step 3: Build Your React App
Now it's time to build your React app for production. Run the following command in your terminal:
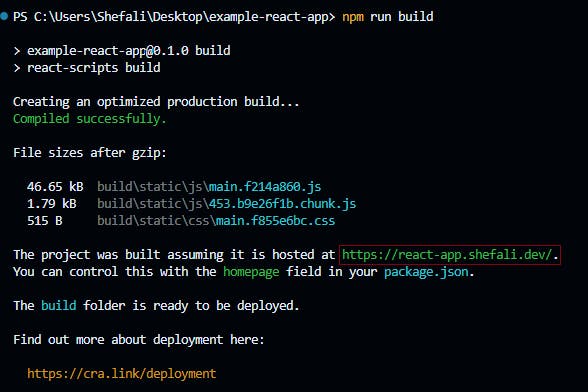
npm run build
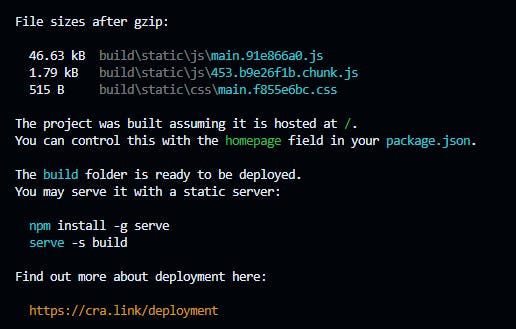
This command generates a production-ready build of your app in the build folder.
You should see your URL in the terminal like the below image:
If you don't see the URL and your terminal looks like this:
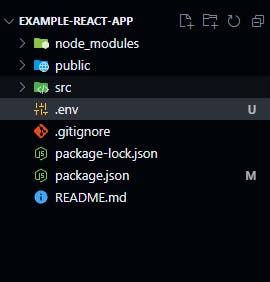
then delete the previously created build folder and create a new file named .env in the root folder.
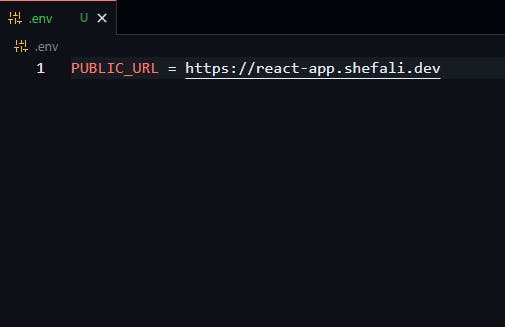
Inside the .env file, add the following code:
PUBLIC_URL = https://react-app.shefali.dev
Replace https://react-app.shefali.dev with the domain you choose for your Hostinger website.
Now, when you run the command npm run build again, this should fix the issue.
Step 4: Create .htaccess File
Log in to your Hostinger account and go to the File Manager. and create a new file named .htaccess in your public_html folder. This file is used to configure how your web server behaves. Add the following code to your .htaccess file:
<IfModule mod_rewrite.c>
  RewriteEngine On
  RewriteBase /
  RewriteRule ^index\.html$ - [L]
  RewriteCond %{REQUEST_FILENAME} !-f
  RewriteCond %{REQUEST_FILENAME} !-d
  RewriteCond %{REQUEST_FILENAME} !-l
  RewriteRule . /index.html [L]
</IfModule>
This code ensures that all requests to your app are redirected to the index.html file.
Step 5: Upload the Contents of Your Build Folder
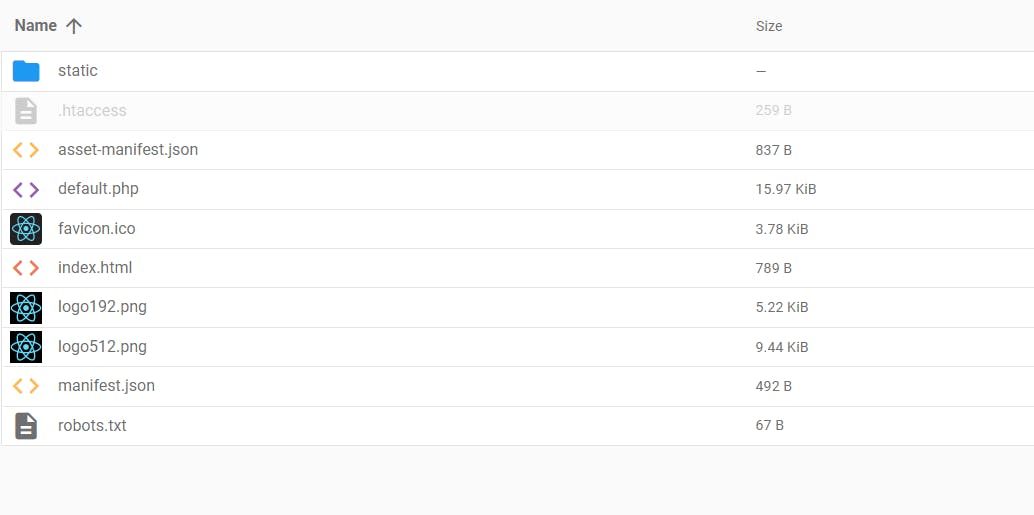
Upload the contents of the build folder (generated in Step 3) to the public_html folder of your Hostinger website.
Your File manager should look like this.
Congratulations! You've successfully deployed your React app on Hostinger. Visit your website in your browser to see your app live. Now you can share it with others and showcase your amazing work to the world.
Hostinger is the market-leading hosting provider. You can purchase the premium web hosting plan and get a domain completely free for the first year.
Click here to get an additional 20% discount on all your plans.
That’s all for today.
I hope it was helpful.
Thanks for reading.
For more content like this, click here.
You can also follow me on X(Twitter) for daily web development tips.
Keep Coding!!